Sample Class: Individualized Indoor Cycling
Use variety and purpose to hone in on personal fitness goals.

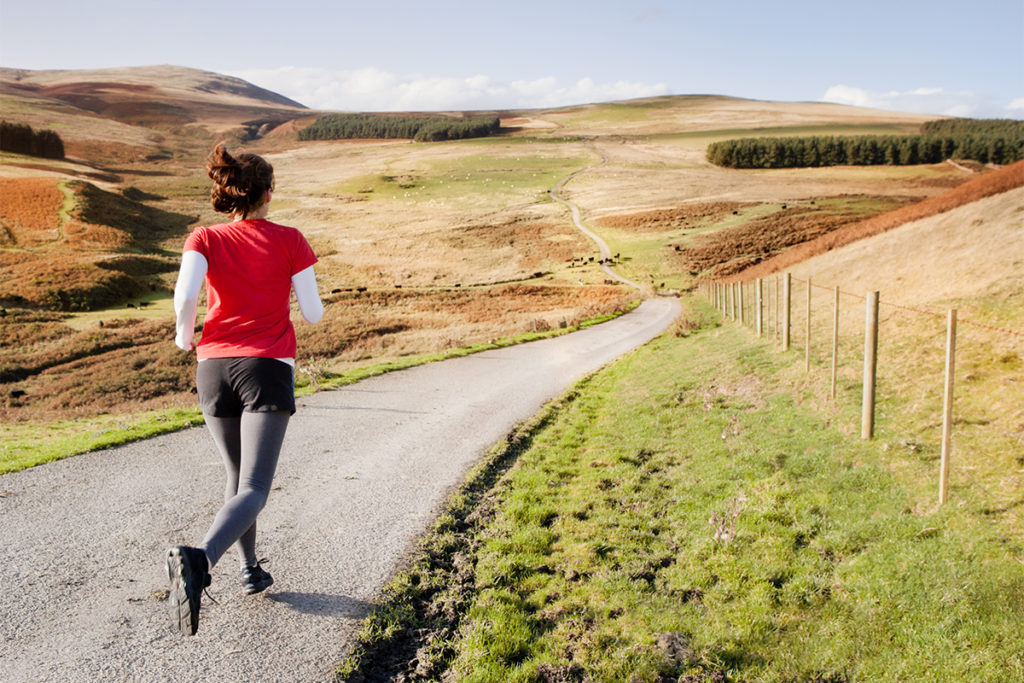
Indoor cycling is a very efficient and user-friendly exercise. The beauty of this format is that you can increase and decrease intensity at will. You can close your eyes during a drill and visualize to your heart’s content. Many participants use indoor
cycling as a primary way to stay fit and to seriously train.
However, when it comes to teaching, one speed does not fit all. Cycling classes can be designed to burn fat, to improve fast-twitch muscle response or to increase one’s respiratory or muscular threshold. In fact, the days of standing “running” drills or seated speed drills are over. Variety and purpose are the new buzz words. The following sample class provides a series of drills that will
- identify participants’ aerobic base;
- increase their wattage capacity; and
- help participants “touch” their respiratory or muscular threshold.
Teach this as a stand-alone class or as the heart of a longer class. Using drills with a purpose is fun and educates participants about the body’s capacity to perform on any given day.
Individualized Indoor Cycling Details
Format: indoor cycling group workout
Total Time: 45 minutes
Equipment Needed: bikes and (if available) heart rate monitors
Music: Use motivating music with a strong beat. Start with a soulful warm-up and move into more demanding rhythms. Beats-per-minute ranges are 130–144.
Warm-Up (6–10 minutes)
Choose an introductory level of tension as you lead the class in a warm-up and do some preliminary upper-body stretches.
- Raise arms as you inhale; shake out hands and lower the arms as you exhale. Pay attention to breath and posture.
- Breathe in and out, fully feeling the breath. Relax shoulders, and feel chest expand and open as you inhale. Repeat three times.
- On last exhalation, spread fingers and lower the arms, bending elbows to sides. Twist side to side in this position three times, each side.
- Raise arms and leave them up. Place hands on elbows to make a box shape over head. Inhale. As you exhale, press arms backward and lower chin to chest.
- Inhale, release the press and bring chin parallel to floor again. Repeat three times.
- Allow head to relax to right side, supporting it with right hand; stretch left side. Repeat on opposite side.
- Reach arms out to third position (handlebar grip farthest away from you). Exhale and round the back toward ceiling. Inhale and reach chin and chest out. Repeat three times.
- Slide tailbone back, relax shoulders and make sure breastbone is reaching upward.
- Ride in steady state in seated position for 2 minutes. Feel the road (medium tension on the flywheel). Stand up and ride in steady state for 2 minutes. Draw large, even circles with the legs.
Drill #1: “Fat Burning”
70% + 10 beats (5 minutes)
This drill requires a heart rate monitor and the rating of perceived exertion (RPE) scale. Direct participants to
increase tension level and run standing. Have them speed up until heart rate is at 70% of maximum (or an RPE of 4). They should be comfortable, yet working, and starting to feel their aerobic zones. Direct them to increase 10 beats and hold for 1 minute. If possible, have them increase another 10 beats and hold for another minute. They should do this until they can no longer talk comfortably. Everyone should be able to recite the pledge of allegiance. When they cannot, they have likely reached their respiratory threshold. Ask them to make a note of this number if they are using a heart rate monitor. The range between 55% of maximum heart rate and this number is their aerobic base and their fat-burning zone. Cue participants to slow down and recover for 2 minutes.
Drill #2: Power = Watts
(8 minutes)
The latest trend in the competitive cycling world is “wattage.” Wattage equals cadence times force. In indoor cycling we can quantify these factors by counting cadence and applying more tension to the flywheel.
Give participants the following cues: Set cadence in the range of 85–95 repetitions per minute (rpm) on more than just a flat road; not a serious hill, but equivalent to 4, 5 or 6 on a tension scale of 1–10. Maintain this speed for 2 minutes (gear #1). Increase the tension level to 5, 6 or 7 (gear #2) and maintain this new speed for 2 minutes. Increase the tension to 6, 7 or 8 (gear #3) and stay at this level for 2 minutes.
Encourage participants to work at a safe cadence. Not everyone can work at the same level of tension. Have riders
recover by taking off most of the tension and spinning it out for 2 minutes. Be sure participants are rested and hydrated
before beginning this drill.
Drill #3: Increasing Threshold (18 minutes)
In the standing position, have participants reach 75%–80% of their maximum heart rate (RPE of 5 or 6). Cue them to set the tension level to a “climb” mode and to stay at this level—at approximately 90 rpm—for 4 minutes; then have them increase speed to 100 rpm and maintain that exact resistance for 2 minutes. This increase in speed will allow participants to “touch” their respiratory or muscular threshold.
Have them recover for 2 minutes at about 75% of maximum heart rate (RPE of 5) and then repeat the drill twice. During the 2-minute intervals at 100 rpm, heart rate will spike to perhaps 90% of maximum (RPE of 7 or 8). Note that this is not a drill for beginners. Seasoned cycling enthusiasts will probably reach a muscular fatigue threshold before a ventilatory threshold. Cue participants to recover fully, removing most of the tension on the flywheel and pedaling lightly for 2 minutes.
Cool-Down (4 minutes)
Ask riders to come off their cycles, and cue the following moves: Place right leg on crossbar and turn out left leg by rotating ball of foot outward. Press forward and back in a smooth, even manner, keeping knee lined up over toes. Be careful not to press too far forward. Next, pause in a comfortable forward position and move hips right and left. Now, circle clockwise three times and then counterclockwise three times. “Stretch” will be felt in back of front leg and front of back leg. Repeat on opposite side. Push off and walk for a moment to feel the balance in the leg muscles.

Laura Sachs
Laura Sachs is the creator of the E-MOTION® body-mind fitness video, relaxation and yoga walk programs. She is a mind-body expert with 20 years experience in the health and fitness field. She has created fitness content for the Soma Management website and has been featured in Shape, Fit Yoga, Natural Health, IDEA Fitness Journal and American Fitness. Laura currently teaches at the Bay Club, the Jewish Community Center and the University of San Francisco. She is also a level three trainer with Heart Zones.
Certifications: ACE and AFAA