Teaching Restorative Yoga
Students come to a restorative yoga class to let go of the stresses of everyday life―including the need to do things right and the constant pressure to improve or to achieve. The yoga teacher who understands that motivation can provide a yoga practice that goes well beyond a few relaxing stretches and gives students permission to truly let go.
Support Creates Release
The guiding principle of restorative yoga is that support creates release. Every restorative yoga pose is a variation on that theme, and the aim of each pose is the same: relaxation. The most obvious feature of a restorative yoga practice is the array of props: blankets, bolsters and blocks support the body to release muscular tension. Equally important, though less obvious, is the teacher’s skill in creating an atmosphere that encourages students to let go of mental stress. This article describes a short restorative yoga sequence that can maximize the benefits of physical relaxation and offers teaching guidelines for making the practice a full body-mind experience.
Teaching Guidelines
Keep the following factors in mind when designing and leading a restorative yoga class.
Center Yourself Before Class
Teaching restorative yoga requires a different mindset than teaching other styles of yoga. The restorative yoga teacher sheds the role of instructor and authority, instead adopting the role of guide and caregiver. To prepare yourself to serve in this capacity, center yourself before each class. Take time to practice meditation, breathing or gentle stretching before you teach. Letting go of your own stress will allow you to hold the space for students to let go of theirs.
Provide Physical Support
Restorative yoga uses a wide range of props to support the body. When the body is fully supported in a pose, students can relax into the shape of the pose without exerting any physical effort to stay there. They can therefore “receive” rather than “do” the pose.
Props serve two basic support roles: they can “prop up” (support the shape of a pose from below), or they can “anchor” (stabilize the shape of a yoga pose, preventing both effort and movement). Bolsters, blankets and blocks can be arranged in many shapes and heights to support from below, as shown in supported bridge pose and reclining bound angle pose. The primary anchoring props are straps and sandbags. For example, straps can support the legs in bridge and bound angle, allowing students to let go of the effort to hold the legs in place. Sandbags can be placed on top of the body, as shown in bound angle and in gentle inversion. In both these cases, the weight of the sandbags creates a sense being held in the pose, much like when a yoga teacher applies a hands-on adjustment in an active yoga class.
Keep It Neutral
In other styles of yoga, students are encouraged to find the edge of their flexibility in a stretch. Stretching to the point of resistance creates tension; in restorative yoga, the aim is muscular release, which happens before one becomes aware of the sensation of stretch. For this reason, you need to help students support the body in a shape that is comfortable and sensation-neutral–not in a deep stretch. This can be surprising to students who, in other yoga classes, are told that props are only for individuals who “can’t do the full pose.”
Give Personal Attention
For restorative yoga, you need to adapt your usual correcting and adjustment skills to provide a different kind of personalized attention. Instead of instructing students on how to improve their form, focus on helping them figure out how to adapt a yoga pose to their own needs. If you have trained your eye to look for what is “wrong” in a student’s pose, retrain your eye to look for signs of effort or discomfort. It’s a good clue that effort is needed to stay in a pose when some part of the body remains unsupported (for example, arms or knees don’t fully rest on the floor and could use the support of a small folded blanket). The biggest sign of discomfort is a student fidgeting or adjusting props.
Leave Empty Space
In a restorative yoga class, poses are typically held for several minutes, and it is quite natural to have long stretches of silence as students relax into a supported pose. A restorative yoga practice is like an internal retreat, and silence facilitates the process of relaxation. However, inexperienced teachers can get nervous leaving students in poses for 5 minutes with no continuing instruction or ongoing commentary. If you are new to teaching this kind of class, you may wonder if participants are bored, and you may feel the urge to “fill up” the empty space. Keep in mind that students are having a very different experience than you are, as the teacher. Attend other restorative yoga classes as a student to appreciate how lengthy silences can comfortably fit into a class structure.
Create Mindful Transitions
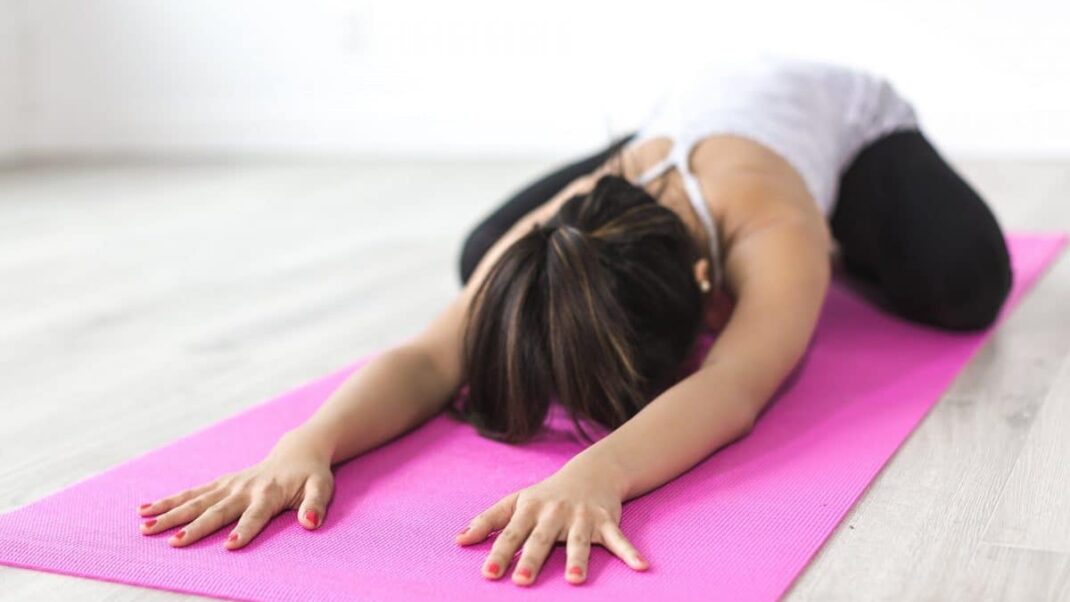
Give your restorative yoga class an early cue when the end of a pose is near. Some teachers use a chime or other special sound, but the cue can be as simple as saying, “Five more breaths in this pose.” If you teach in a room that has a dimmer switch for the lights, you can brighten the room slightly to indicate transitions. Provide students specific verbal instructions on how to mindfully move props and find their way out of poses. Careful guidance can prevent the chaos of props being abandoned: the clunking of sandbags falling off as students shift weight; confusion over exactly how to roll off a stack of bolsters; or entanglement as a student gets trapped in a clasped strap. Allow practitioners to come out of each restorative yoga pose at their own pace, and offer a simple recovery pose, such as child’s pose or a reclining pose, for them to move into next.
Sequence Poses for Relaxation
Most restorative yoga poses are gentle enough to stand alone or be practiced comfortably in almost any order. Sequencing a restorative yoga class should focus instead on maintaining a relaxing atmosphere. A common complaint from students is that the setup for some poses is so elaborate that it interrupts the flow of the practice. As you build a sequence, include some poses, like supported child’s pose, that require minimal setup. As the class progresses, students will be able to relax more deeply in each new pose. Build toward progressively longer holds (up to 10 minutes in a pose), and allow more silence in the final poses of a sequence.
Sample Sequence:
Diaphragmatic Breathing in Reclining Position
During this opening pose, take the opportunity to describe the principles of restorative yoga to students who are new to class.
Place rolled blanket or bolster under knees to help release lower back. Optional neck pillow or headrest may make students more comfortable. Guide students to rest hands on lower belly and feel its movement as they breathe.

Reclining Bound Angle Pose
This pose provides gentle opening to the hips and chest, and is an excellent time to focus on breathing or to introduce a heart-opening meditation.
Lean bolster on stack of blankets or blocks. Place rolled blanket under each knee. Strap can be looped behind lower back, over insides of legs and around feet. This allows students to relax any effort to hold feet together. Sandbags may be placed on inner thighs to ground the legs. Make sure legs are fully supported, without a deep stretch, before placing sandbags.

Supported Bridge Pose
This pose releases tension in the hip flexors, abdominal muscles and chest. Having the head slightly lower than the heart deepens the relaxation response.
Place combination of bolster and rolled blankets under lower back and hips. Looped strap can be placed around thighs, tightened just enough to keep knees from splaying apart. Legs can be bent or straight, whichever is more comfortable. If legs are straight, block under feet can offer extra support.

Supported Child’s Pose
This pose releases tension in the back and hips. The bolster provides a feeling of security and comfort.
Kneel, and place bolster between knees. Fold forward over bolster, resting head on it. Blanket may be placed under hips for more support, and sandbag may be placed on hips to anchor pose.

Gentle Inversion
This pose provides an inversion for the lower body and is an excellent way to end a restorative yoga practice.
The only necessary prop for this pose is the wall. A folded blanket placed under the torso can provide additional elevation. Sandbag placed across feet can anchor legs and help release lower back and hips.

Photo credit:
Photography: Kim Shetter, kshetter@hotmail.com


