Yoga Lesson Plan 2: Twisting from the Core and Intention
This is the second of a six-part sample yoga lesson plan series that will provide both a physical focus to guide your choice of postures, and a practice focus to help students explore an important yoga principle. The intention is to present guidelines for creating a coherent and thoughtful class experience. The suggestions are broad enough to allow you to choose yoga poses that are appropriate for your students.
Yoga Lesson Plan 1 Yoga Lesson Plan 5
Yoga Lesson Plan 3 Yoga Lesson Plan 6
Yoga Lesson Plan Two
Physical theme: Twisting from the Core
Practice Principle: Intention
The anatomy of the spine allows for the greatest rotation in the cervical spine. You can easily feel this by turning the head from side to side. For this reason, we often begin a twisting pose by turning our heads. However, to fully express the intention of a twisting pose, we need to rotate from lower in the spine. When we initiate a twisting pose from the head and neck, the rest of the body does not necessarily follow. The result is a strained and incomplete action, and we may try to use our arms to force ourselves deeper into the pose. An alternative approach is to twist from the core, using abdominal and back muscles to turn the entire rib cage. The head and neck follow, aligning the center, heart and gaze.
The physical focus of this yoga lesson plan is twisting from the core, and the broader focus of intention mirrors this physical action. To follow through with our intentions, we draw on our inner strength to support our heart’s purpose and direct our actions.
Opening (10 min)
Introduce the theme of the class with an opening sequence that explores the four actions of the spine: extension (backbending), flexion (forward-bending), lateral flexion (sidebending), and rotation (twisting). One possible sequence is to explore extension and flexion on all fours with spine waves (cat/cow), then bring students to kneeling or cross-legged position for a simple sidebend and twist. Each movement should be linked to the breath (inhaling during extension and exhaling during flexion or rotation).
Give students the opportunity to feel two different approaches to twisting. First, have them turn their heads as far as they can, and then try to “catch up” with the rest of the body by using their arms to pull or push themselves into the seated twist. Then have them initiate the same twisting pose from the core, with an exhalation, turning the torso before the head, and using the arms only to support themselves in the final position. Most students will agree that this last approach feels far better. Encourage students to use this approach in all twisting poses.
Dynamic Warm-ups (10 min)
To help students connect more fully to the core actions you will be using in standing poses, guide them through a traditional twisting abdominal exercise (such as the “criss-cross” oblique curl). If sun salutations are a part of your typical class, invite students to notice whether each movement is initiated from the head and neck or from the core.
Standing Yoga Poses (20 min)
You can add a twist to almost any standing pose. Below are some suggestions for adding twists to basic poses. Experiment with adding standing yoga twists to other poses. For each pose pair, practice moving from the basic pose into the standing twist, and back into the basic pose, several times. Then hold the twisting pose for five to 10 breaths.
- Chair pose (utkatasana) and twisting chair pose (parivritta utkatasana). Have students begin in chair pose, bring their palms together at the heart, twist to one side, and then place one elbow on the outside of the opposite knee.
- Warrior I (virabhadrasana I) and twisting lunge (parivritta parsvakonasana). From warrior pose, with arms overhead, repeat the transition practiced in chair pose: lower the hands to heart, and twist from the core before placing the elbow on the outside of the front knee.
- Standing head to knee pose (parsvottanasana) and twisting triangle pose (parivritta trikonasana). When moving into the twist from standing head to knee pose, remind students to initiate their movement from the core and not the head and arms.
If you use the Sanskrit names of poses in your teaching, you can introduce the term “parivritta” as “a turning of the heart.” As you guide students through each transition, you can remind them that each pose is a turning of the heart, supported by the core.
One hands-on adjustment works well in most standing twisting poses: place one hand on the student’s back ribs and the other hand on the opposite front shoulder. With very little pressure — more of a suggestion than a forceful adjustment — use your hands to guide the student into a more fully expressed spinal twist from the core.
Seated Yoga Poses and Deep Release (15 min)
Choose seated and floor poses that follow the opening sequence of the four movements of the spine. One possible sequence is bridge pose (setu bandhasana) or any other backbends for spinal extension, seated gate pose (parighasana) for lateral flexion, a seated forward bend (such as janu sirsasana) for spinal flexion, and a reclining spinal twist.
Relaxation and Closing (5 min)
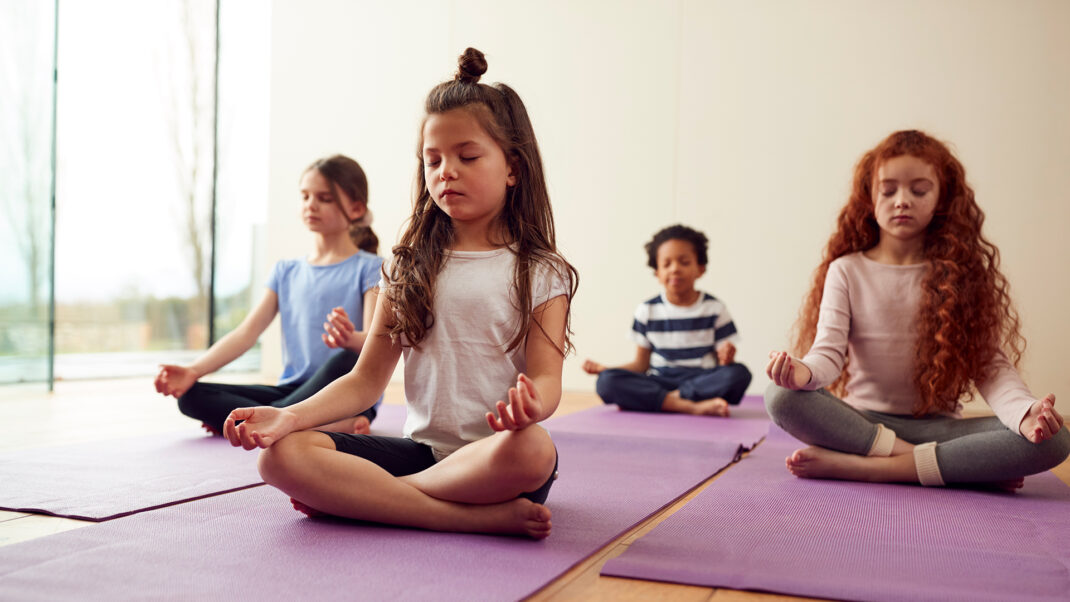
In relaxation pose or a seated meditation, bring students back to the theme of the class: a “turning of the heart.” Ask them to reflect, “What, in life, would you like to turn your heart to?” Invite them to mentally commit to this intention, and remind students that they have the inner strength to follow through with action.