Standing Work on the Reformer
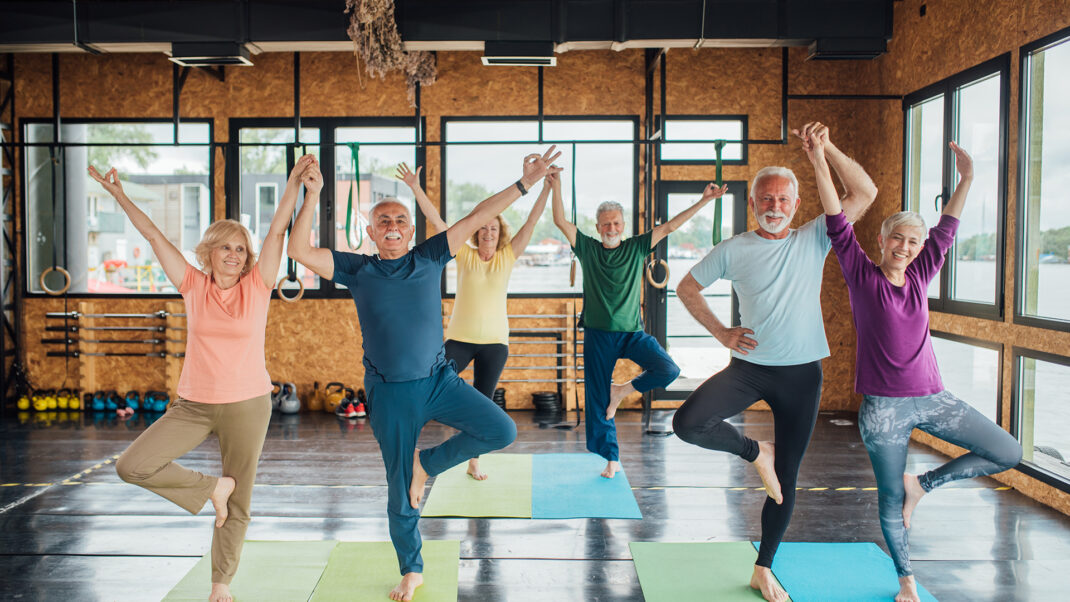
Practice standing work to strengthen the leg and hip muscles, improve balance and posture, and add variety to your workouts.
|![]() Earn 1 CEC - Take Quiz
Earn 1 CEC - Take Quiz
Standing work on the reformer offers a perfect way to improve overall balance and posture and is a great complement to any other workout or Pilates routine. In this article, you will learn how to introduce the classic standing work—with a contemporary twist—to clients at any level, and you’ll learn how to progress or regress moves for those who need more or less.
Standing, walking and moving upright are essential everyday activities for the ambulatory population, so adding standing moves to a routine brings the work into the realm of functional fitness. By keeping us on our feet and moving, standing work helps preserve the body’s balancing system. In particular, exercises that force our musculature to bear weight and overcome resistance can support our joints and improve overall stability. Standing work engages the muscles of the feet and lower limbs and builds our core—and our fitness level—from the ground up, providing immediate feedback that we can apply in our daily lives.
Importance and
Benefits of Standing Work
In many Pilates exercises, we focus on the muscles of our inner core: the transversus abdominis, the pelvic floor, the multifidi and the diaphragm. While these muscles play an important role in stabilizing the spine during small, controlled movements, they do not actually move the body as a whole.
Instead, we need to focus on using the muscles surrounding the hips and pelvis—our lumbopelvic area—and more specifically, in the standing work, the muscles of our lower limbs. Learning to engage these muscles as a powerhouse and as a dynamic center is the key to efficient, graceful and balanced movement. These systems work together to stabilize the pelvis and lumbar spine when they are under stress, as they are during lifting, bending, sitting, twisting, walking, running or jumping. Lumbopelvic stabilization is important because the bones of the spine are both mobile and delicate without the stability provided by the deep muscles that surround them.
Here are the primary benefits of practicing standing work:
Leg strength. When standing, we not only work the major muscles of the upper leg; we also challenge the muscles surrounding the feet, ankles, knees and hips, building strength, integrity and flexibility in these muscles and joints.
Core stability. Working upright, we challenge the core by constantly moving the entire body, forcing the core to stabilize and eventually to strengthen in order to support the spine and torso more effectively and efficiently.
Balance. When standing, we use our levers (arms, legs and torso) in a lengthened position, naturally improving our overall balance. And since the reformer carriage is anywhere from 5 to 30 inches off the ground, just getting onto the equipment provides a new perspective and challenges our proprioception and balance.
Standing posture. By learning to hold our torso upright in good posture, we improve our everyday posture in standing, sitting and lying positions and we naturally find greater ease of movement on the reformer.
Functional fitness. By practicing standing work on the reformer, we mimic everyday activities such as standing, walking, bending and reaching, thereby improving our functional fitness for daily life. The standing work focuses on using the muscles of the lower body to transfer power through our core and into the upper body.
What to Look For
When Training Clients
Neutral pelvis. Maintaining neutral pelvis when doing standing work on the reformer is important because when the pelvis is in neutral, the action of gravity on the core musculature leads to balanced engagement of the muscles on the front and back of the spine. This decreases stress on the spine and helps prevent low-back pain and injury. To find neutral pelvis while standing, use the hips’ bony structures and your own hands. Bring your thumbs and index fingers into a triangle, placing the heels of your hands on the anterior superior iliac spine (ASIS) points on the front of your hips and placing the index fingers on your pubic bone. The goal is to have that triangle perpendicular to the floor.
Correct alignment. Keeping correct alignment of the lower limbs while doing any upright movements (standing work on the reformer, standing upright, walking and running) allows the forces generated during these movements to spread efficiently through all of the joints without allowing stress to build up at any one point. Optimum alignment of a lower limb is indicated by drawing a straight line from just inside the ASIS through the center of the patella and then through the center of the ankle joint, when viewed from the front. When the limb is in motion, the ankle, knee and hip should line up over each other and maintain approximately the same alignment as the limb goes through a full range of motion.
The goal when working on the hip, leg and ankle is to balance the strength and flexibility of the muscles that surround and support each joint in order to optimize correct alignment and balance the forces that move from the foot to the ankle to the knee to the hip. The vast majority of problems that occur in this area are due to misalignment, muscular imbalance, overuse or trauma.
Standing Exercises
on the Reformer
The following exercises can be done on any standard reformer. Use the modifications and challenges provided to regress or progress the exercises according to your clients’ needs or your own. Keep in mind that when working on a reformer, less is usually more. What this means is that less weight means less stability, which means more work! Practice these exercises on their own, or incorporate some or all of them into a current routine for a wonderful addition to any fitness regimen.

Exercise 1: Side Split
Purpose. Strengthen adductors or abductors and improve standing balance and coordination.
Springs. One yellow to one blue for adductor focus; one red to two reds for abductor focus.
Start position. Facing one side of reformer, step up on stable side first and then onto carriage side. Keep feet in parallel position and pelvis neutral. Hands can start at hips to ensure pelvis stays steady and neutral (A).

Movement Sequence
Adductor focus. Inhale: Press carriage out (B). Exhale: Bring carriage back to stopper.
Abductor focus. Switch breathing above, and add more weight.
Progression
Saw. Start with arms to sides at shoulder height (C). As carriage moves out, hinge at hips and rotate torso toward carriage leg, keeping arms wide and straight.
Repeat any of the above 5–10 times on each side.

Exercise 2: Elephant
Purpose. Increase back, hamstring and calf flexibility, strengthen abdominals and hip flexors, and increase upper-body stability.
Springs. One red to one red and one blue.
Start position. Place hands on foot bar, shoulder distance apart, and stand on carriage with toes hanging off front end and rest of each foot on carriage. Lift hips up toward ceiling, and round low back, allowing arms to frame head; look at naval. Arms are straight, and shoulders are over wrists (D).
Movement Sequence
Inhale: Lift toes toward ceiling, and press carriage back, keeping shoulders stable and over wrists.
Exhale: Press toes over edge of carriage, and engage abdominals to draw carriage in while keeping lower spine flexed.
Repeat 4–6 times.
Progressions
Heels at shoulder rests. Bring feet back on carriage so heels are down on it and against shoulder rests (E). Press back with heels and pull in with abdominals to move carriage back to start position.

Upstretch variation. Lift heels, and press metatarsals into carriage and heels against shoulder rests. Lengthen torso so it is flat, with neck long and in line with spine (F). Without moving carriage, bend knees and round back to hover shins just above carriage. Press carriage out, bringing body into dartlike position, and then lift hips to return to start position. Repeat 4–6 times.
Exercise 3: Balance/Arm Work
Purpose. Increase spinal rotation, core stability and arm strength while balancing.
Springs. One blue to one red.
Start position. Facing one side of reformer, step up onto carriage with outside edge of one foot against shoulder rest and outside edge of other foot on carriage, just wider than hips. Take hold of front rope (use handle attachment). Hold handle with hand closest to risers and shoulder rests, and wrap other hand around, raising elbows to chest level (G).

Movement Sequence
Inhale: Bend knees, keeping weight on all four corners of each foot.
Exhale: Rotate spine toward foot bar, keeping hands in front of chest and arms in same position (H).
Inhale: Rotate back to side.
Exhale: Straighten legs to return to start position.
Repeat 4–6 times each side.
Progressions
Squat/Twist. Start in same position as above but with arms straight in front of chest, holding handle. Simultaneously squat and twist torso toward foot bar, keeping hips level and abdominals braced to support low back (I).

Repeat 5–10 times on each side.
Exercise photographs credit: Portia Page; Model: Lizbeth Garcia.
Prerequisite: ability to stand comfortably on the ground without losing balance.
- As the client gets on and off the reformer, spot by holding his or her hand or by having your own hand available the first few times.
- Always have the client step on the nonmoving platform first and then the moving part, the carriage, second.
- If a client will be standing on just the carriage for an exercise, hold the carriage steady as the client steps up onto the bed.
- Bear in mind that using lighter weight when facing front or back on the reformer usually means more core work; using lighter weight during lateral movements means the adductors will work harder; and using heavier weight during lateral movements will work the abductors.
Knee injuries. Limit the range of motion in abduction to decrease stress on the medial knee. Adjust the weight or avoid this movement if symptoms increase.
Balance problems. Spot the client throughout the exercises. Urge the client to be careful when getting on and off the reformer.
SI joint problems. Limit the range of motion in side-facing moves. During forward- or backward-facing moves, be sure that there is enough weight to prevent the carriage from moving beyond the client’s control (i.e., there are sufficient springs loaded to provide support). Adjust the weight as needed for the client, or avoid the movements altogether.
Pregnancy. Limit the range of motion.
Less flexibility. Limit the range of motion to what is comfortable for the client. In most cases, it is easier to press the carriage out than to return it.
Foot injuries. Start with balancing on the floor to gauge whether the client will be able to use the foot muscles to balance on the reformer. If the client can balance on the floor, start with exercises that incorporate holding onto the foot bar while standing on the carriage. Have the client wear a lightweight, flexible shoe that provides some support.
References

Portia Page
Portia Page is a faculty member of Balanced Body® as well as the Education Project Manager and a STOTT PILATES®-certified instructor. She has been in the fitness industry for over 20 years and has served as a teacher, competitor, program director, instructor trainer and international presenter. A gold-certified Pilates teacher through Pilates Method Alliance®, Portia has been a master instructor for 24-Hour Fitness® and has helped develop and cultivate several new programs for their instructors as well as conducted trainings throughout the United States and abroad.
Certifications: ACE and AFAA