Sample Class: Resistance Tubing Workout
Help participants develop strength with a simple piece of equipment.
|![]() Earn 1 CEC - Take Quiz
Earn 1 CEC - Take Quiz
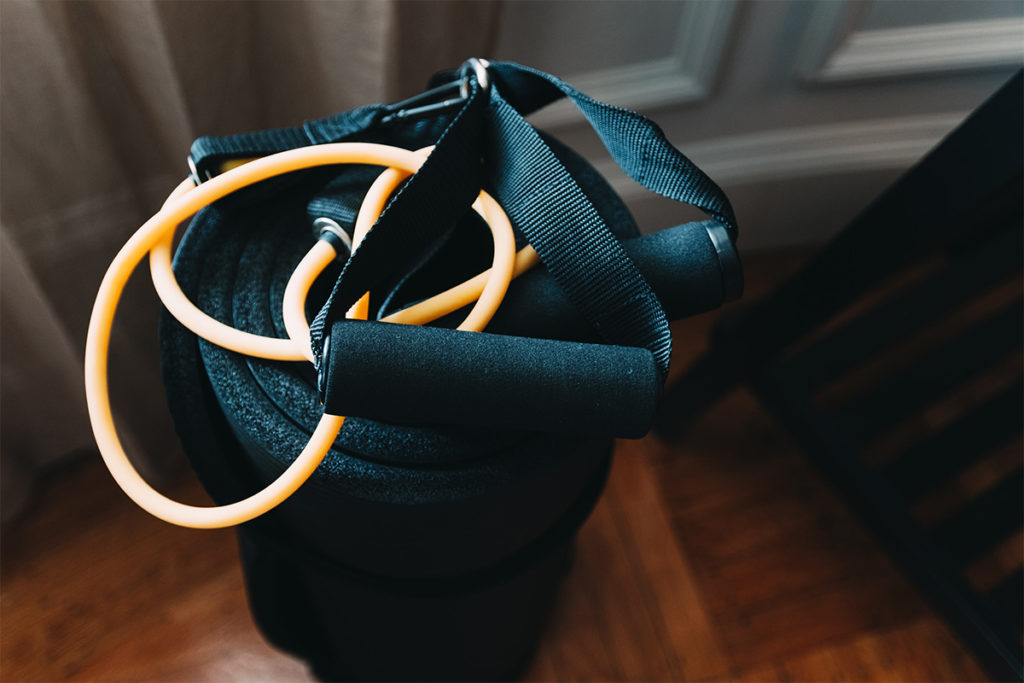
Resistance tubing is one of the most convenient and versatile pieces of equipment available today. According to the 2004 IDEA Fitness Programs & Equipment Survey, it tops the list of 15 types of equipment most often provided by program directors. It’s inexpensive, durable and easy to store, making it a perfect addition to the fitness toy box.
There are endless ways to use resistance tubing, and participants are often surprised by the results they get from these “skinny rubber strings with handles.” Take advantage of this specialty equipment in your own class.
Teach participants how to use resistance tubing in a way that promotes strength gains and adherence while making safety a priority.
Resistance Tubing Workout Details
Format: group strength class for approximately 20–35 participants.
Total Time: 60 minutes
Equipment Needed: Each participant needs one or two sets of resistance tubing with handles. Colors will be based on strength level. Participants should reach moderate to maximum muscle fatigue between 8 and 16 repetitions. Each exercise may require a different-colored band. Encourage class members to adjust accordingly.
Music: Use music to motivate, as well as to encourage controlled, deliberate movement. Select a tempo that allows the majority to work safely at varied speeds (Reebok recommends 124–128 beats per minute). If any participants can’t control a movement at the selected pace, encourage them to choose lighter tubing and work at a pace they can control.
Safety Guidelines
- Before starting an exercise, move away from the anchor point to create a level of tension that is constant throughout the entire range of motion.
- Always control the resistance, especially in the return phase of the movement.
- Reduce resistance if you feel any excessive discomfort or strain.
- Perform an equal number of repetitions on both sides.
- Inspect tubing for tears before each use.
Stance Guidelines
Novice: Place middle of tubing under arch of front or rear foot; stand in narrow, staggered lunge.
Intermediate: Place tubing evenly under arches of both feet; stand in narrow square stance (feet hip width apart or slightly closer).
Advanced: Place tubing evenly under arches of both feet; stand in wide square stance (feet just wider than hip width apart).
Body Alignment Guidelines: Maintain postural awareness:
- Keep torso upright, head and neck in neutral position.
- Engage deep abdominal musculature to assist in neutral spinal alignment and stabilization.
- Focus eyes straight ahead.
- Do not lock or hyperextend joints.
Warm-Up (5–10 Minutes)
Use movements that mimic the upcoming actions. Include dynamic or rhythmic stretching to ensure participants can move comfortably through their range of motion.
Workout Block Formula
Focus: endurance, balance
Workload: 2–3 sets of 8–16 repetitions for upper body; 4 sets for lower body
Break: 1-minute rest between blocks
Block 1
Exercise 1: Squat (quadriceps, hamstrings, gluteals).
Begin in moderate stance, feet turned out slightly, a little wider than hip distance apart. Place one or two resistance tubes under arches of both feet. Grasp handles with underhand grip and bend elbows, pronating forearms until palms are facing forward. Tubing is behind upper arms; handles rest in front of shoulders. Squat until thighs are almost parallel to ground. Push up against resistance and return to starting position. Maintain neutral spine through full range of motion.
Exercise 2: Standing single-arm chest flye with partner (pectorals).
Stand next to partner of similar height, shoulders aligned. Each person grasps one handle with hand closest to partner. Step sideways, far enough away to reach desired tension level, and assume quarter-squat position. One partner takes small step forward so that handle is slightly behind shoulder with thumb up, palm facing forward. Keep elbow slightly flexed and perform horizontal adduction. Finish with hand at lower-chest height, thumb up. Slowly return to starting position. Maintain core stability.
Exercise 3: Push-up plus! (pectorals, anterior deltoid, triceps, serratus anterior).
From prone position, place tubing across middle back. Secure ends on floor beneath hands, shoulder distance apart. Push up against tubing while supported on knees (intermediate) or toes (advanced). Do not lock elbows.
Block 2
Exercise 1: Dynamic lunge (quadriceps, hamstrings, gluteals).
Stand in narrow, staggered lunge stance and place tubing under arch of front foot. Grasp handles with underhand grip and bend elbows, pronating forearms until palms are facing forward. Tubing is behind upper arms; handles rest in front of shoulders. Move opposite leg behind and land on ball of foot. Bend knees and descend to form 90-degree angles. Front leg’s knee remains over mid-foot with weight evenly distributed. Keep heel down. Trail leg’s heel is off floor. Return to starting position.
Exercise 2: Standing reverse flye with partner (posterior deltoid, rhomboids, middle trapezius).
Partners face each other and create
an X pattern with two resistance tubes. Step back to create desired tension and assume staggered stance. Extend arms to shoulder height, palms facing. Simulta-neously pull handles out and back until hands are parallel to and slightly behind shoulders, thumbs facing up. Slowly return to starting position. During pull phase, expand chest, lift rib cage and engage abdominals to maintain neutral spine. Keep wrists neutral.
Exercise 3: Standing low row with partner (latissimus dorsi).
Partners face each other holding two resistance tubes parallel to one another. Step back for desired tension and assume staggered stance. Extend arms fully, palms facing. Leading with elbows, pull back until wrists are just outside lower rib cage. Return to starting position.
Block 3
Exercise 1: Standing biceps curl.
Start in staggered, narrow or wide stance. Place tubing under arch of front foot or both feet. Grasp handles with both hands and straighten arms directly under shoulders. Bend elbows until flexed, palms facing fronts of shoulders. Return to starting position.
Exercise 2: Standing single-arm triceps press-up.
To anchor tubing, grasp its center with nonexercising hand, bend arm and place back side of hand against lower back. Grasp one handle (less difficult) or both handles (more difficult) with exercising hand. Bend elbow 90 degrees and lift directly over shoulder. With firm wrist, press up, pronating forearm and straightening arm fully. End with hand directly over shoulder, palm facing forward and knuckles facing ceiling.
Exercise 3: Bridge lift (hamstrings, gluteals).
Lie on back, both knees bent, feet hip width apart. Stretch tubing across tops of thighs. Anchor tubing to floor with hands as you lift hips. Hold momentarily and lower with control. Maintain neutral spine.
Exercise 4: Crunches (abdominals).
Lie on back with knees bent at a 90-degree angle. Knees are directly above hips; lower legs are parallel to floor. Grasp tubing 6–8 inches away from its center and stretch band across thighs. Keeping head in neutral, lift shoulders and reach for heels as you curl trunk forward. Legs remain still. As tubing resists action, use abdominals to produce spinal flexion.
Stretch
Although performing strength exercises through a full range of motion can improve joint mobility and muscle flexibility, include dynamic and static stretches at the end of each set to help muscles recover and prepare for the next set. Additional stretching at the conclusion will enhance muscle flexibility. Stretch each muscle to the point of mild tension—not pain—and avoid ballistic bouncing.
Carol Murphy
Carol Murphy, recipient of the 2010 IDEA Fitness Instructor of the Year award, is an international fitness expert and motivational speaker. She has worked as a consultant, master trainer, course instructor and spokesperson for leading companies including Reebok, TRX®, Barre Above, Drums Alive, Tabata Bootcamp, and as the Education Director for Resist-A-Ball. Known for her infectious energy and passion to make fitness fun, Carol's innovative, results-oriented workouts have been featured in numerous fitness DVDs, magazines and at conventions world wide. She has written more than 50 instructor training courses, lectures and articles and holds five national certifications.